Hey there, fellow crafters and parents! 👋 Have you ever wondered why store-bought playdough seems to dry out so quickly or why it sometimes smells a bit… funky? 😷 Well, I’ve got great news for you! Making your own is not only super easy, but it’s also way more fun and customizable. Plus, you know exactly what goes into it, so you can ensure it’s safe for your little ones. In this post, we’re going to dive deep into the world of homemade playdough. We’ll explore various recipes, including some that are completely edible (yes, you read that right! 😮). So, let’s roll up our sleeves and get ready to squish, mold, and create! 🎨🖐️
The Basic Homemade Playdough Recipe: A Classic for a Reason 🏆
Let’s start with the classic homemade playdough recipe. This one’s been a favorite for generations, and for good reason – it’s simple, effective, and oh-so-fun to make!
Ingredients You’ll Need 📝
- 2 cups all-purpose flour
- 1 cup salt
- 2 tablespoons vegetable oil
- 1.5 cups boiling water
- Food coloring (optional, but recommended for maximum fun! 🌈)
Step-by-Step Instructions 👨🍳
- In a large bowl, mix the flour and salt together. 🥣
- Add the vegetable oil and mix well.
- Slowly pour in the boiling water while stirring constantly. The dough will start to form!
- Once it’s cool enough to handle, knead the dough until it’s smooth and elastic. 🖐️
- If you want to add color, divide the dough into portions and add a few drops of food coloring to each. Knead until the color is evenly distributed.
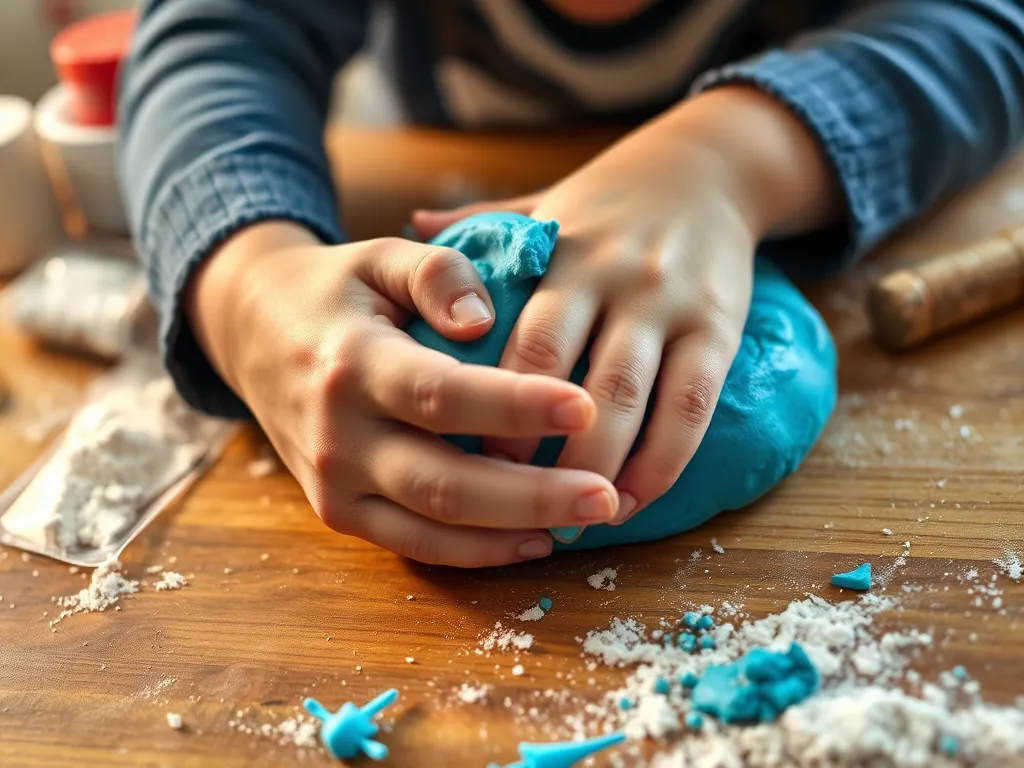
Et voila! You’ve just made your very own homemade playdough. 🎉 It’s that easy!
Pro Tips for Perfect Playdough 🧠
- Store your playdough in an airtight container or zip-lock bag to keep it fresh for weeks.
- If it starts to dry out, just add a few drops of water and knead it back to life!
- Experiment with different colors and even scents (a drop of essential oil can work wonders 🌺).
Edible Playdough Recipe: Safe for the Youngest Creators 👶
Now, let’s talk about something really special – edible playdough! This is perfect for those curious toddlers who just can’t resist putting everything in their mouths. With this recipe, you won’t have to worry if they take a little taste. 😋
Ingredients for Tasty, Edible Playdough 🍽️
- 1 cup creamy peanut butter (or sunflower seed butter for nut allergies)
- 1 cup powdered sugar
- 2 tablespoons honey
- 1/4 cup cornstarch
How to Make It 🔧
- Pour all ingredients in a bowl , then mix them until you get a homogeneous mixture.
- Knead the dough until it reaches a playdough-like consistency.
- If it’s too sticky, add more powdered sugar or cornstarch. If it’s too dry, add a bit more honey.
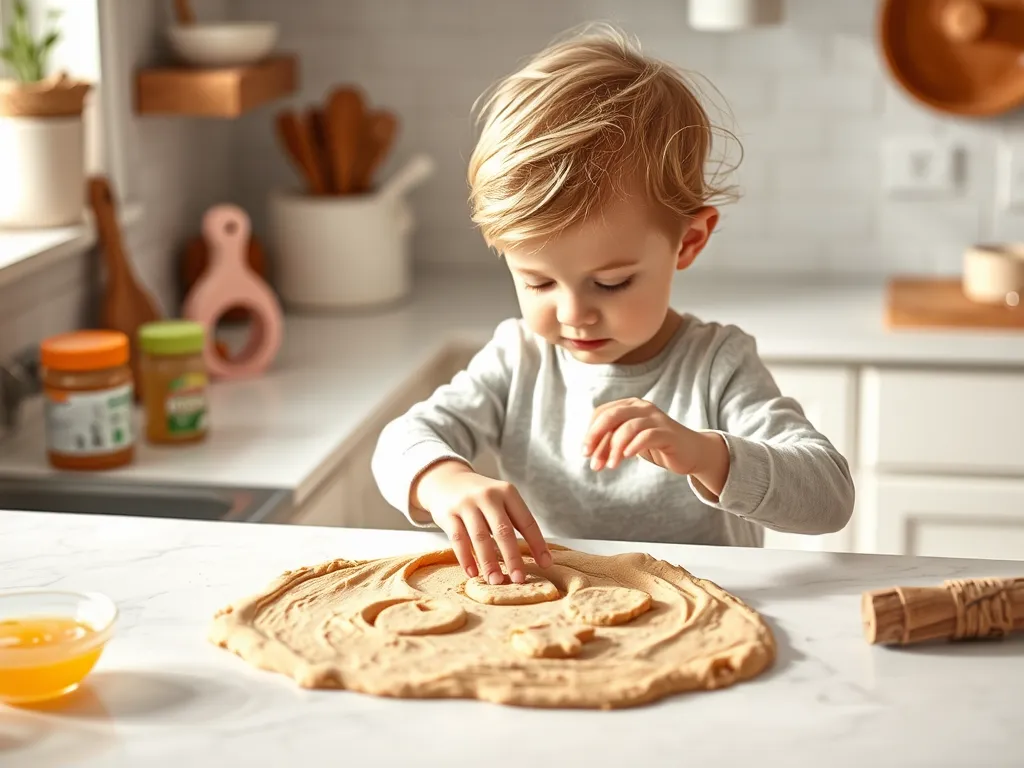
Remember, while this playdough is edible, it’s not meant to be eaten as a snack. It’s still a craft material, just a safer one! 🙅♀️🍪
Gluten-Free Homemade Playdough: Fun for Everyone 🌾❌
For our friends with gluten sensitivities, we’ve got you covered too! Here’s a gluten-free playdough recipe that’s just as fun and squishy as the rest.
Gluten-Free Ingredients 🛒
- 1 cup rice flour
- 1/2 cup cornstarch
- 1/2 cup salt
- 2 teaspoons cream of tartar
- 1 cup water
- 1 tablespoon oil
- Food coloring (optional)
Gluten-Free Playdough Instructions 📝
- Mix all dry ingredients in a saucepan.
- Add water, oil, and food coloring (if using). Stir well.
- Cook over medium heat, stirring constantly, until the dough forms a ball.
- Allow to cool, then knead until smooth.

Now everyone can join in the playdough fun! 🎊
The Benefits of Homemade Playdough: More Than Just Fun 🧠💪
You might be wondering, “Is it really worth the effort to make my own playdough?” The answer is a resounding yes! Here’s why:
1. It’s a Learning Experience 📚
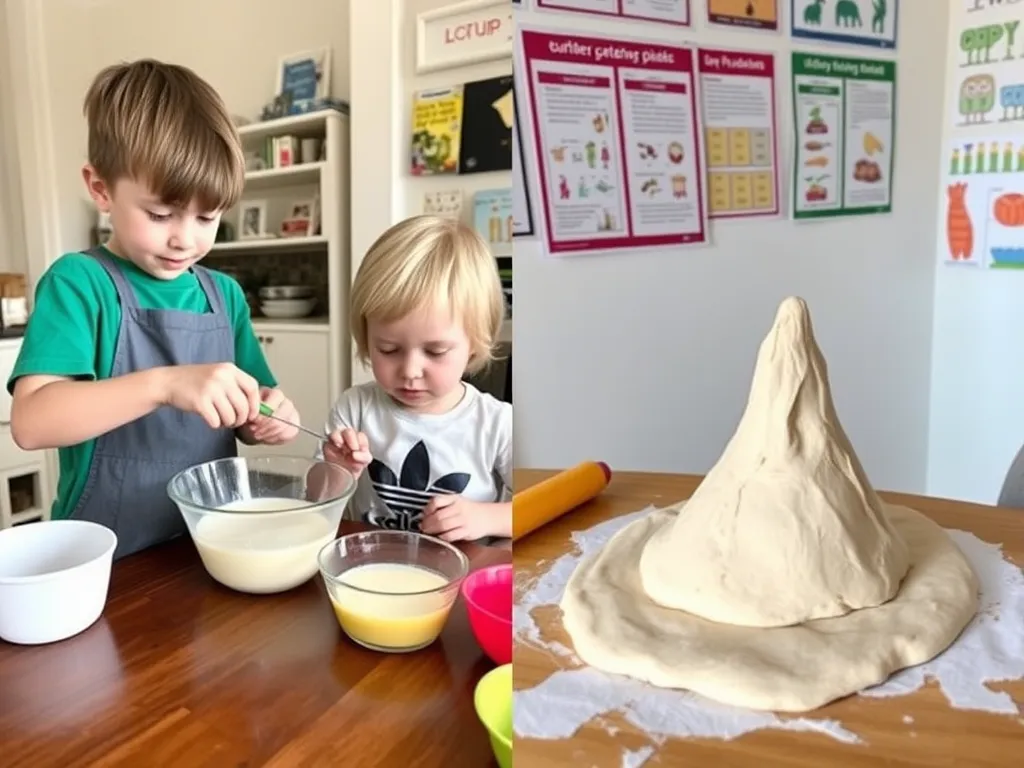
Making playdough is like a mini science experiment. Kids can learn about measurements, mixing, and how different ingredients interact. It’s STEM learning disguised as play! 🔬
2. It’s Cost-Effective 💰
Once you’ve bought the ingredients, you can make multiple batches of playdough for a fraction of the cost of store-bought versions. More play for less money? Yes, please! 🙌
3. It’s Customizable 🎨
Want glittery playdough? Go for it! Prefer a lavender-scented batch? Just add a drop of essential oil. You have limitless possibilities with homemade recipes.
4. It’s Safer 🛡️
Especially with the edible playdough recipe, you have complete control over the ingredients. No more worrying about what might be in that store-bought dough.
5. It’s a Bonding Activity 👨👩👧👦
Making playdough together can be just as fun as playing with it. It’s a great way to spend quality time with your kids or friends.
Creative Ideas for Playdough Play 🎭
Now that you’ve got your homemade playdough, what can you do with it? Here are some fun ideas :
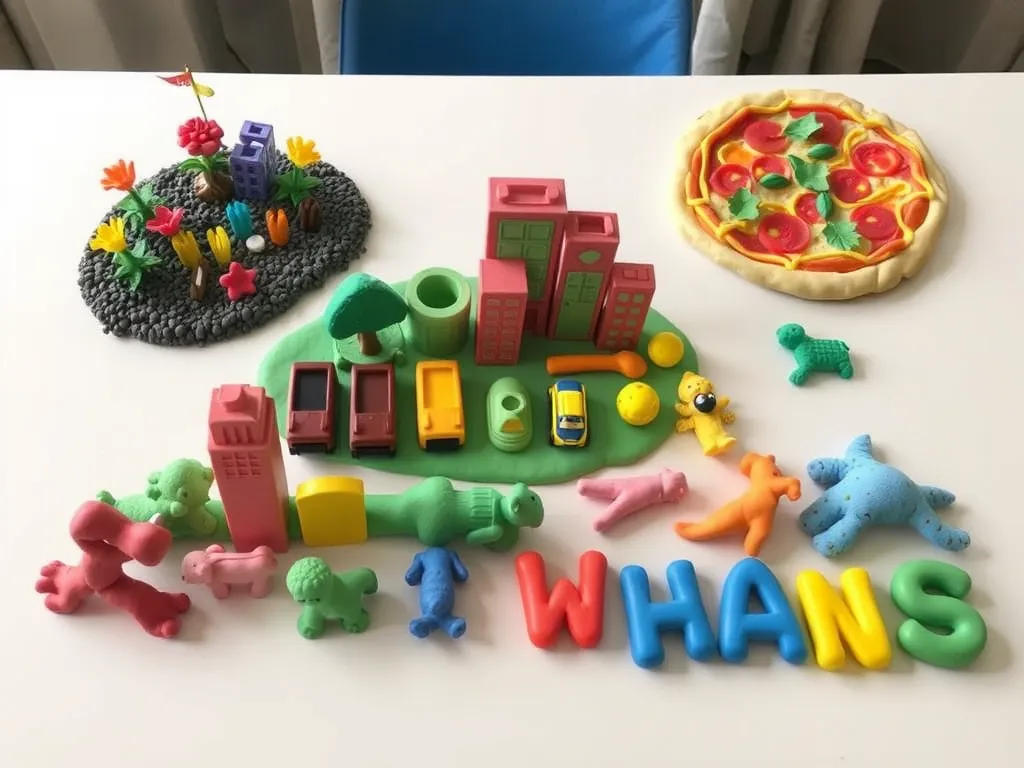
- Create a mini garden: Use green playdough for grass, brown for dirt, and other colors for flowers and vegetables. 🌻🥕
- Make playdough pizzas: Roll out a circle for the base, add red sauce, and top with yellow cheese and colorful vegetable toppings. Mamma mia! 🍕
- Build a playdough city: Use different colors to create buildings, roads, and parks. Add toy cars for extra fun! 🏙️🚗
- Sculpt your favorite animals: Challenge each other to create the cutest or most realistic animals. Who can make the best elephant? 🐘
- Practice letters and numbers: Use playdough to form letters and numbers. It’s a great way to make learning tactile and fun! 🔢🔠
Bonus: For more creative playdough activities, feel free to download my eBook: Homemade Playdough Activity pdf ➡️ HERE⬅️, or visit this ➡️ POST⬅️ instead.
Troubleshooting Your Homemade Playdough 🔧
Problem: The playdough is too sticky 😖
Solution: Add more flour or cornstarch, a little at a time, until you reach the desired consistency.
Problem: The playdough is too dry and crumbly 😓
Solution: Add a few drops of water or oil and knead well. Repeat if necessary.
Problem: The colors aren’t mixing well 🌈
Solution: Make sure you’re kneading the dough thoroughly. If needed, add a drop more food coloring and keep kneading.
Problem: The playdough has a weird smell 🤢
Solution: If your playdough develops an off smell, it’s best to discard it and make a fresh batch. To prevent this, always store it in an airtight container and make sure hands are clean before playing.
Frequently Asked Questions About Homemade Playdough 🤔
Got questions? We’ve got answers! Here are some of the most common queries about homemade playdough:
Q: How long does homemade playdough last? ⏳
A: When stored properly in an airtight container, homemade playdough can last for several weeks to a few months.
Q: Is homemade playdough safe if my child accidentally eats it? 😮
A: While the basic recipe isn’t harmful if a small amount is ingested, it’s not meant to be eaten. For very young children, consider using the edible playdough recipe instead.
Q: Can I make playdough without cream of tartar? 🤷♀️
A: Yes! Our basic recipe doesn’t use cream of tartar. However, recipes that do use it tend to last longer.
Q: How can I make my playdough smell nice? 🌺
A: Try adding a few drops of essential oil or a packet of unsweetened Kool-Aid to the mixture for a pleasant scent.
Conclusion: The Joy of Homemade Playdough 🎉
There you have it, folks! Everything you need to know about making your very own homemade playdough. From basic recipes to edible versions, from creative play ideas to troubleshooting tips, we’ve covered it all.
You can always compare your recipes against existing ones that are actually homemade, check this ➡️ link ⬅️ for more inspiration.
Remember, the joy of homemade playdough isn’t just in the end product – it’s in the process of creating it together
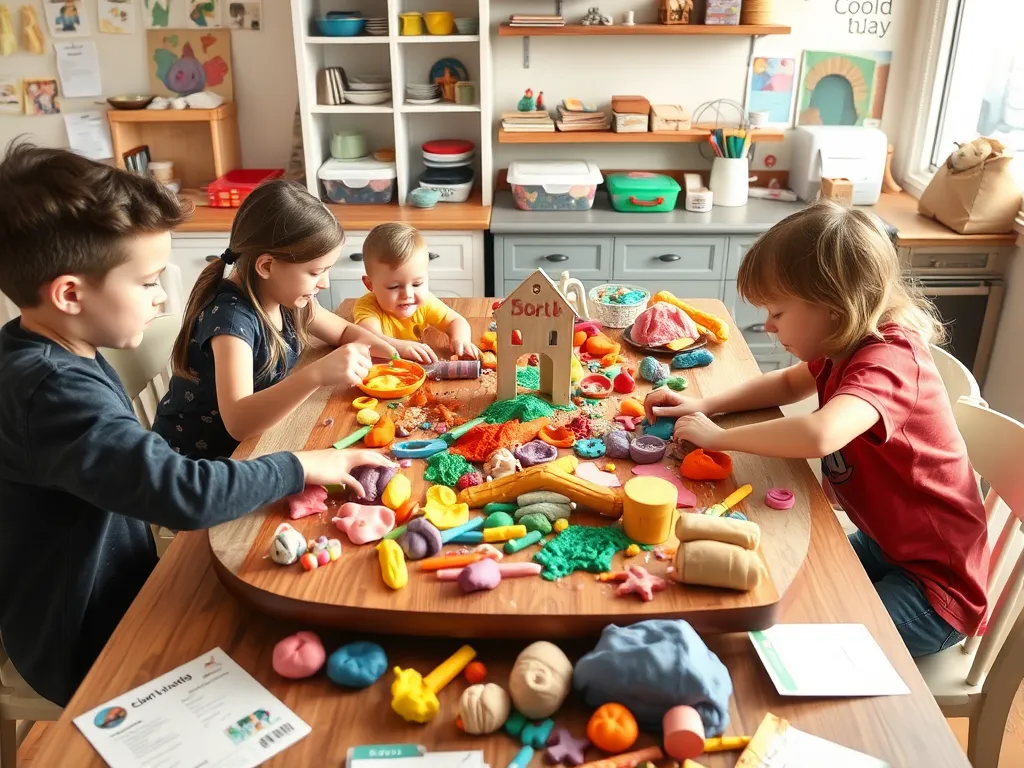
So, what are you waiting for? Gather your ingredients, roll up your sleeves, and dive into the wonderful world of homemade playdough.


1 thought on “Homemade Playdough: The Guide to Edible and Easy Recipes”
Comments are closed.